


How to maintain a roof in harsh weather conditions starts with a simple system: inspect the roof, clear drainage paths, fix weak points, prepare before storms, check for damage after storms, and choose materials that fit your local weather. This risk-based routine helps reduce leaks, water damage, and surprise repair costs.
Introduction
Maintaining a roof in harsh weather is not just about cleaning gutters once in a while. Heavy rainfall, high winds, hail, ice, snow, UV heat, and debris all stress different parts of the roofing system. A good plan helps a homeowner know what to check, when to act, and when to call a roofing contractor.
This guide uses a simple RISK-READY approach: review your roof risk, inspect key areas, secure weak points, keep records, and update your roof care plan as weather conditions change. That gives you a clear way to protect your roof year-round without guessing.
Key Takeaway
The best way to protect your roof in harsh weather is to follow a clear routine before small issues turn into leaks, mold growth, or roof replacement needs.
- Inspect your roof at least twice a year and after major weather events.
- Keep gutters and downspouts clear so rainfall can drain fast.
- Check flashing, vents, shingles, roof edges, and the attic.
- Prepare before high winds, hail, snow, or heavy storms arrive.
- Document roof damage with photos and dates.
- Call a professional inspection team when safety, structure, or insurance is involved.
Why Harsh Weather Conditions Damage Your Roof Faster Than Normal Weather
Harsh weather damages a roof because it attacks weak points again and again. Wind can loosen shingles and roof edges. Heavy rain finds gaps in flashing and sealant. Heat and UV dry out roofing materials. Snow and ice add weight, trap water, and can cause roof leaks.
A roof is more than the top layer you see from the ground. It includes shingles or panels, underlayment, flashing, roof deck, gutters, downspouts, attic insulation, and ventilation. If one part fails, water can move into the next layer before the homeowner sees a ceiling stain.
This is why maintaining a roof should be based on risk. A coastal home may need more corrosion checks. A cold-climate home may need stronger ice dam prevention. A hail-zone home may need impact-resistant roofing materials. The right maintenance plan starts with your weather, roof age, and roof type.
Step 1: Start With A Roof Inspection Before Small Problems Become Expensive Repairs
A roof inspection helps find damage before it becomes a leak, rotten roof deck, or larger roof repair. In harsh weather conditions, the roof should be inspected at least twice a year and after major storms. Ground checks are useful, but a professional inspection can catch hidden problems.
Use this inspection checklist:
- Look from the ground for missing shingles, lifted edges, sagging areas, or loose metal.
- Check gutters for granules, leaves, dirt, and shingle pieces.
- Inspect ceilings and attic areas for stains, damp insulation, musty smells, or daylight.
- Review flashing around chimneys, skylights, vents, and wall joints.
- Take photos, note dates, and save repair records.
A roof log is simple but valuable. It can show if one area keeps failing after storms. It can also help a roofing contractor, insurer, or inspector understand what changed over time.
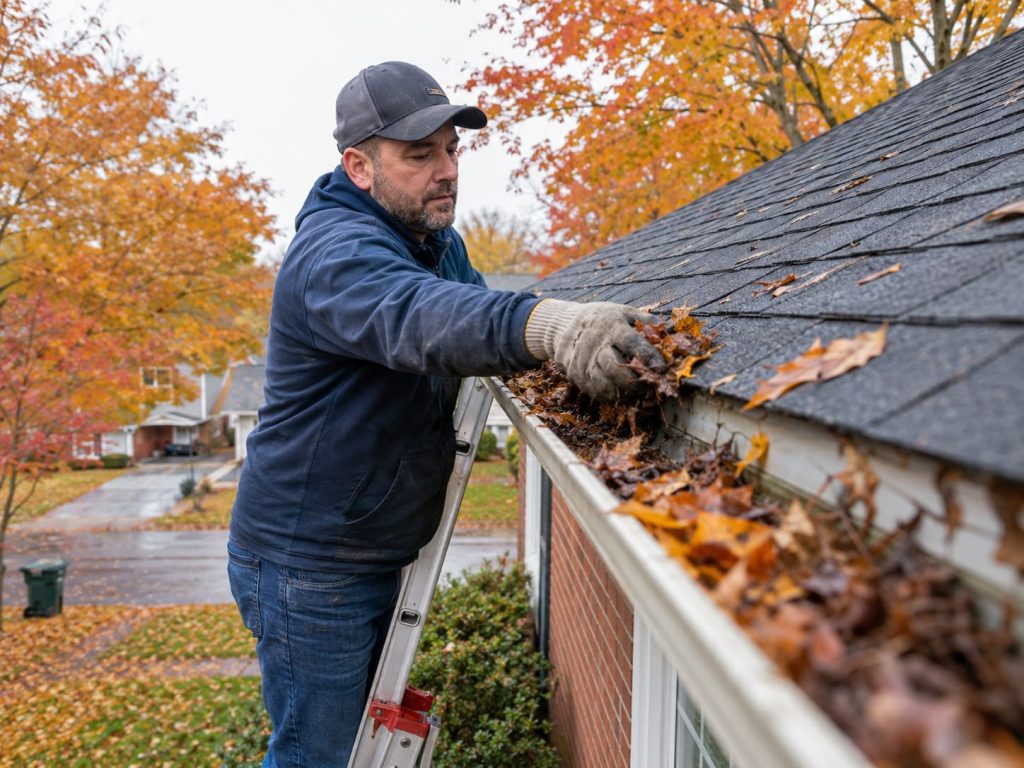
Step 2: Keep Gutters, Downspouts, Flashing, And Drainage Working During Heavy Rainfall
Gutters, downspouts, flashing, and drainage protect your roof from water intrusion. If water cannot move away from the roof surface, it can back up under shingles, enter seams, damage fascia, soak attic insulation, and cause mold growth inside the home.
Use this quick drainage check:
- Clean gutters before storm season and after heavy leaf fall.
- Make sure downspouts move water away from the foundation.
- Clear roof valleys, scuppers, drains, and flat roof low spots.
- Check flashing around chimneys, vents, skylights, and walls.
- Replace cracked sealant before rain tests the weak spot.
Flashing is the metal or waterproof material that seals roof transitions. These areas fail often because they move, age, rust, or pull away during high winds. If you see rust, gaps, loose edges, or stains below a flashing area, schedule roof repair before the next storm.
Step 3: Prepare Your Roof Before High Winds, Hail, Snow, Or Heavy Storms Arrive
Pre-storm roof care works best when it is done before weather alerts become urgent. The goal is to remove loose risks, clear drainage, secure weak points, and prepare emergency items. This does not make a roof storm-proof, but it can reduce damage and make response faster.
Follow this simple storm prep plan:
- One week before storm season: Schedule a roof inspection, trim branches, and fix loose shingles or flashing.
- One to three days before a storm: Clean gutters, clear drains, remove roof debris, and secure outdoor items.
- The day of the storm: Stay off the roof, protect valuables, and keep emergency contacts ready.
- For long-term risk: Ask about impact-resistant shingles, metal roofing, secondary water barriers, stronger fasteners, or hurricane straps where local weather demands them.
Hail, wind, and ice do not damage roofs the same way. Hail tests impact strength. Wind tests edges and fasteners. Ice tests ventilation, insulation, and drainage. Your prep should match the threat.
Step 4: Use A Seasonal Roof Maintenance Routine For Year-Round Weather Protection
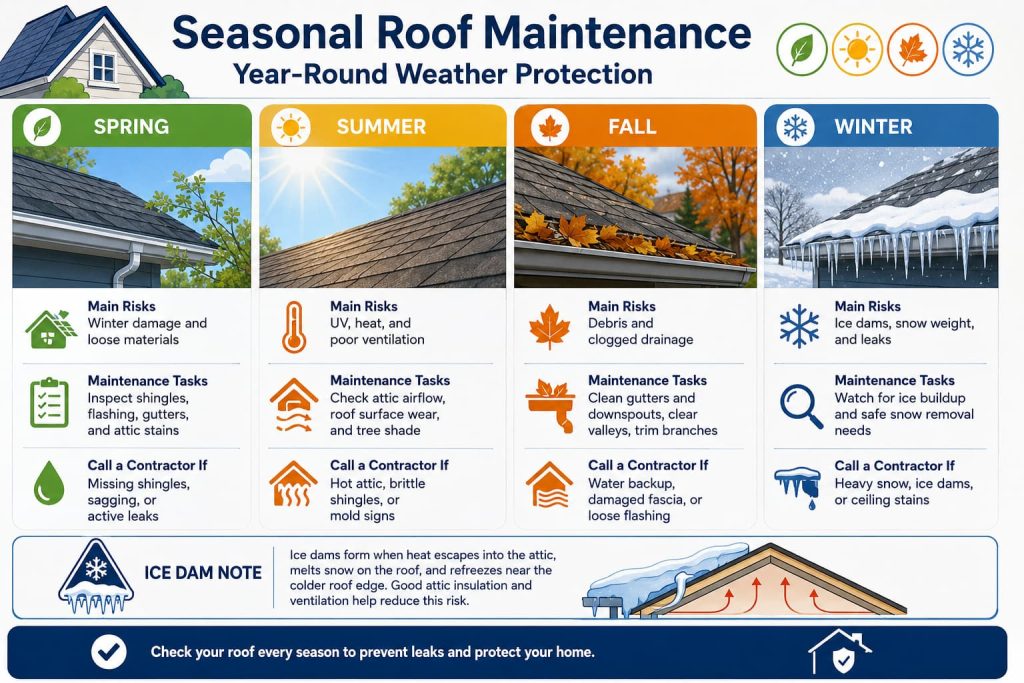
A seasonal roof maintenance routine keeps care simple. Instead of waiting for roof leaks, the homeowner checks the right things at the right time. This helps protect your roof through heat, rainfall, high winds, snow, ice, and year-round wear and tear.
| Season | Main Roof Risk | Maintenance Task | When To Call A Roofing Contractor |
| Spring | Winter damage and loose materials | Inspect shingles, flashing, gutters, and attic stains | Missing shingles, sagging, or active leaks |
| Summer | UV, heat, and poor ventilation | Check attic airflow, roof surface wear, and tree shade | Hot attic, brittle shingles, or mold signs |
| Fall | Debris and clogged drainage | Clean gutters and downspouts, clear valleys, trim branches | Water backup, damaged fascia, or loose flashing |
| Winter | Ice dams, snow weight, and leaks | Watch for ice buildup and safe snow removal needs | Heavy snow, ice dams, or ceiling stains |
Ice dams form when heat escapes into the attic, melts snow on the roof, and the water refreezes near the colder roof edge. Good attic insulation and ventilation help reduce this risk.
Step 5: Choose Roofing Materials And Upgrades That Fit Your Local Weather Conditions
Roofing materials should match the weather conditions your home faces most often. Asphalt shingles are common and can work well with proper maintenance. Metal roofing can be useful in areas with heavy rain, snow, and wind. Tile can fit hot climates, while flat roofing membranes need strong drainage care.
For hail-prone areas, impact-resistant shingles or rated roofing materials may be worth discussing during roof replacement. In high-wind zones, the full roof structure matters too. Fasteners, roof edges, flashing, roof-to-wall connections, and the roof deck all affect how well the system holds.
Upgrades should follow a risk ladder. Start with basic repair and maintenance. Then consider stronger materials, better ventilation, improved underlayment, sealed roof deck options, and standards-based systems such as IBHS FORTIFIED where available. The best choice depends on climate, budget, roof age, and past storm damage.
Step 6: Check For Roof Damage After A Storm Before Leaks Get Worse
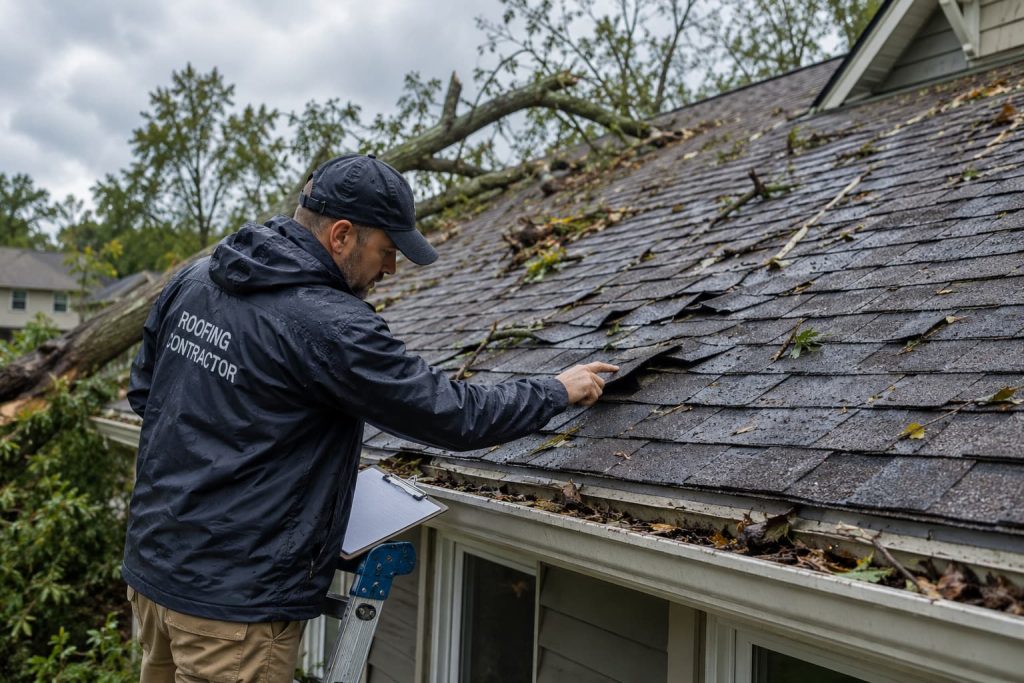
Post-storm checks help separate small surface issues from urgent roof damage. After harsh weather, do not climb onto a wet, steep, icy, or damaged roof. Start from the ground, check the attic, take photos, and call a professional inspection team when damage is unsafe or unclear.
Use this triage checklist:
- Watch list: Small debris, light granule loss, or minor gutter buildup.
- Repair soon: Missing shingles, lifted flashing, cracked sealant, loose vents, or dented gutters.
- Urgent help: Active roof leaks, sagging roof areas, wet attic insulation, fallen branches, or exposed roof deck.
Temporary steps like buckets or tarps may reduce interior damage, but they are not a full roof repair. Save photos from before and after the storm. Good records help show whether damage is new, repeated, or linked to a specific weather event.
Step 7: Know When Roof Repair, Professional Help, Or Replacement Is The Safer Choice
A homeowner can handle light ground-level cleaning, basic gutter checks, and visual inspections. Roof repair, steep-slope work, structural concerns, active leaks, and storm damage should be handled by trained roofing services. Safety matters more than saving a service call.
Use this decision checklist:
- Choose basic maintenance for light debris, clear gutters, and simple ground checks.
- Choose roof repair for a small leak, loose flashing, missing shingles, or cracked sealant.
- Choose professional inspection after hail, high winds, repeated leaks, or hidden attic moisture.
- Consider roof replacement when the roof is old, damage is widespread, or repairs no longer last.
Can you fix a roof leak yourself? Sometimes you can reduce indoor damage, but the source is often above, behind, or under the visible stain. A roofing contractor can trace the leak path and check the roofing system before water damage spreads.
Conclusion
Maintaining a roof in harsh weather conditions works best as a routine, not a reaction. Inspect the roof, keep water moving, clear debris, prepare before storms, check damage after storms, and choose roofing materials that fit your climate.
A well-maintained roof can better handle heavy rainfall, high winds, hail, UV heat, snow, and ice. Start with the next safe inspection window, then build a simple roof maintenance plan you can repeat every season.
You May Also Want to Read
You may also want to read:
Temporary Roof Repairs vs Full Replacement: What’s the Right Move?
How Much Does a Metal Roof Cost in NY
FAQs
How do you maintain a roof in harsh weather conditions?
Maintain a roof in harsh weather conditions by inspecting it twice a year, cleaning gutters and downspouts, checking flashing and vents, trimming branches, preparing before storms, and checking for roof damage afterward. Keep photos and repair records so you can track changes and act faster.
Can regular roof maintenance extend the lifespan of my roof?
Yes, regular roof maintenance can help extend the lifespan of your roof by catching leaks, loose shingles, clogged drainage, and attic moisture early. It cannot stop aging, but it can slow avoidable damage and help you decide when repair or roof replacement makes more sense.
What roofing materials are best for harsh weather conditions?
The best roofing materials depend on local weather conditions. Impact-resistant shingles may help in hail areas. Metal roofing can fit high rain, wind, and snow regions. Tile can work well in heat. Flat membranes need strong drainage and regular inspection to prevent ponding water.
When should a homeowner call a roofing contractor after a storm?
Call a roofing contractor after a storm if you see missing shingles, lifted flashing, fallen branches, roof leaks, sagging areas, wet attic insulation, or stains on ceilings. You should also call if damage is hard to see from the ground or the roof is unsafe to access.
Are spray-on roof coatings worth it for harsh weather protection?
Spray-on roof coatings can help some roof surfaces resist UV, heat, and minor water exposure, but they are not a fix for structural damage, bad drainage, or active leaks. Ask for a professional inspection first to confirm the roof is a good candidate before coating it.
